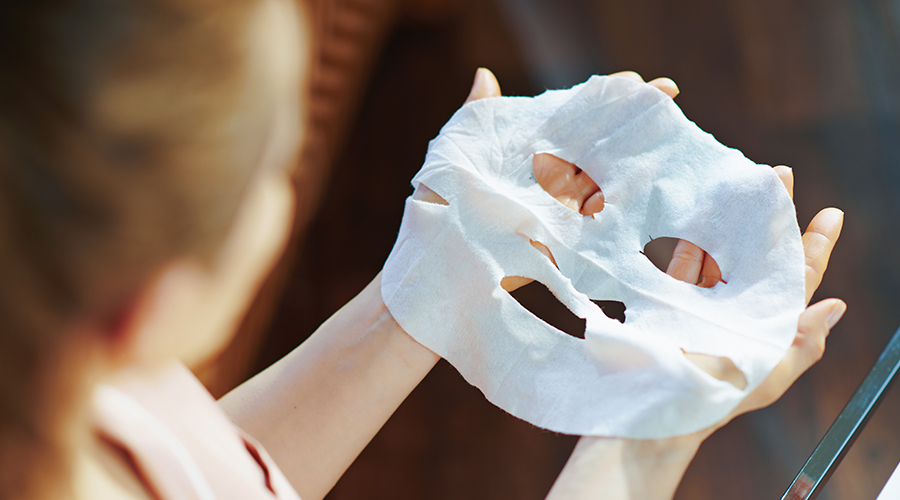
In today’s fast-paced world, there’s a growing trend for DIY skincare. More people are turning to their kitchens to concoct natural skincare products that are not only cost-effective but also tailored to their specific needs. With the rise in popularity of cruelty-free skincare brands and the increasing awareness of the benefits of natural ingredients, DIY face masks have become a go-to solution for many skincare enthusiasts.
Using natural ingredients ensures that you know exactly what you’re putting on your skin. This is especially important for those with sensitive skin or allergies. In this blog post, we’ll explore how to treat dry skin, oily skin, and everything in between with easy DIY face masks. From understanding your skin type to knowing the benefits of each ingredient, we’ve got you covered.
Understanding Different Skin Types
Explanation of the Five Common Skin Types
Before jumping into the recipes, it’s crucial to understand your skin type. There are five common skin types:
- Normal Skin: Balanced skin with minimal imperfections.
- Oily Skin: Characterized by excess sebum production, leading to a shiny appearance and frequent breakouts.
- Dry Skin: Lacks moisture and often feels tight or flaky.
- Combination Skin: A mix of both oily and dry areas, typically with an oily T-zone.
- Sensitive Skin: Easily irritated and prone to redness.
Tips to Identify Your Own Skin Type
Determining your skin type can be as simple as washing your face and observing how it reacts throughout the day. If your skin feels tight or looks flaky, you likely have dry skin. If it becomes shiny and greasy, you have oily skin. Combination skin will exhibit both characteristics, while normal skin remains balanced. Sensitive skin will react to products or environmental factors with redness or irritation.
DIY Face Masks
Recipes for Oily Skin
Ingredients:
- 2 tablespoons of bentonite clay
- 1 tablespoon of apple cider vinegar
- A few drops of tea tree oil
Benefits:
Bentonite clay absorbs excess oil and cleanses pores, while apple cider vinegar balances pH levels. Tea tree oil has natural antibacterial properties, making this mask ideal for acne-prone skin.
Recipes for Dry Skin
Ingredients:
- 1 tablespoon of honey
- 1 tablespoon of mashed avocado
- A few drops of vitamin E oil
Benefits:
Honey hydrates and soothes the skin, avocado provides essential fatty acids, and vitamin E oil promotes skin regeneration. This mask is perfect for those learning how to treat dry skin effectively.
Recipes for Combination Skin
Ingredients:
- 1 tablespoon of oats
- 1 tablespoon of yogurt
- A few drops of honey
Benefits:
Oats gently exfoliate the skin, yogurt soothes and hydrates, and honey balances moisture levels. This combination ensures that both oily and dry areas are treated.
Recipes for Sensitive Skin
Ingredients:
- 1 tablespoon of aloe vera gel
- 1 teaspoon of cucumber juice
- A few drops of rose water
Benefits:
Aloe vera and cucumber juice soothe irritated skin, while rose water acts as a gentle toner. This mask is gentle enough for even the most sensitive skin types.
Recipes for Mature Skin
Ingredients:
- 1 tablespoon of mashed banana
- 1 teaspoon of yogurt
- A few drops of vitamin C serum
Benefits:
Banana provides hydration and essential nutrients, yogurt tightens the skin, and vitamin C serum benefits include reducing fine lines and promoting collagen production.
Application and Usage Tips
Step-by-Step Guide on How to Apply the Masks
- Cleanse your face thoroughly to remove any makeup or impurities.
- Prepare your mask by mixing the ingredients until you achieve a smooth consistency.
- Apply the mask evenly across your face, avoiding the eyes and mouth.
- Relax for 15-20 minutes, allowing the ingredients to penetrate your skin.
- Rinse off the mask with lukewarm water and pat your face dry with a clean towel.
Recommended Usage Frequency for Each Skin Type
- Oily Skin: Twice a week to control sebum production.
- Dry Skin: Once a week to avoid over-drying.
- Combination Skin: Once a week, focusing on different areas as needed.
- Sensitive Skin: Once every two weeks to prevent irritation.
- Mature Skin: Twice a month to maintain elasticity and hydration.
Benefits and Results
Immediate and Long-Term Benefits of Using These Masks
Using DIY face masks regularly can offer both immediate and long-term benefits. Immediately after use, you may notice softer, more hydrated skin. Over time, consistent use of these masks can lead to improved skin texture, reduced blemishes, and a more balanced complexion.
Real-Life Testimonials
“I’ve been using the honey and avocado mask for my dry skin, and the difference is incredible. My skin feels so much softer and looks more radiant!” – Sarah, 29
“The bentonite clay mask has been a game-changer for my acne-prone skin. It really helps control my oil production and keeps breakouts at bay.” – Emma, 22
Conclusion
In conclusion, taking the time to create and use DIY face masks tailored to your skin type can make a significant difference in your skincare routine. These masks use natural ingredients that are safe, effective, and easy to find. Whether you’re a skincare beginner or a seasoned enthusiast, there’s a recipe here for you.
We encourage you to try out these masks and share your experiences with us. Your feedback is invaluable, and we’d love to see your before-and-after photos. Don’t forget to share this post with your friends on social media and help them discover the benefits of DIY skincare.
For more tips and personalized skincare advice, follow us on our social media channels and join our community of skincare lovers. Happy masking!


